Together one step ahead IMS Messsysteme GmbH and voestalpine Tubulars
New standards in the surface inspection of hot-rolled finished tubes
- abril, 2021

Together “one step ahead”: IMS Messsysteme GmbH and voestalpine Tubulars set new standards in the surface inspection of hot-rolled finished tubes
- Synergies from a long-term partnership will be further expanded
- Proven 3D surface technology from IMS extends the existing finished tube gauge
- Earliest detection of even the smallest surface defects at high speeds
- 100% automated surface inspection of tubes for automatic detction and classification of surface defects
The two companies IMS Messsysteme GmbH in Heiligenhaus, Germany, and voestalpine Tubulars GmbH & Co KG, Kindberg, Austria have been working together in the field of hot seamless tube measurement for more than 30 years.
In these decades of successful cooperation, various IMS measuring systems have become an integral part of the tube rolling mill in Kindberg, which is operated according to the CPE (cross-roll piercing and elongation) process. For example:
• hollow bloom geometry measurement behind the two-roll rotary piercing mill, by means of optical CCD cameras
• shell measurement behind the push bench, by means of radiometric wall thickness / eccentricity measurement
• finished tube measurement behind the stretch reducing mill, by means of radiometric wall thickness measurement
Contact and Support

The next step in the synergetic business relationship has now been contractually agreed for the summer of 2021!
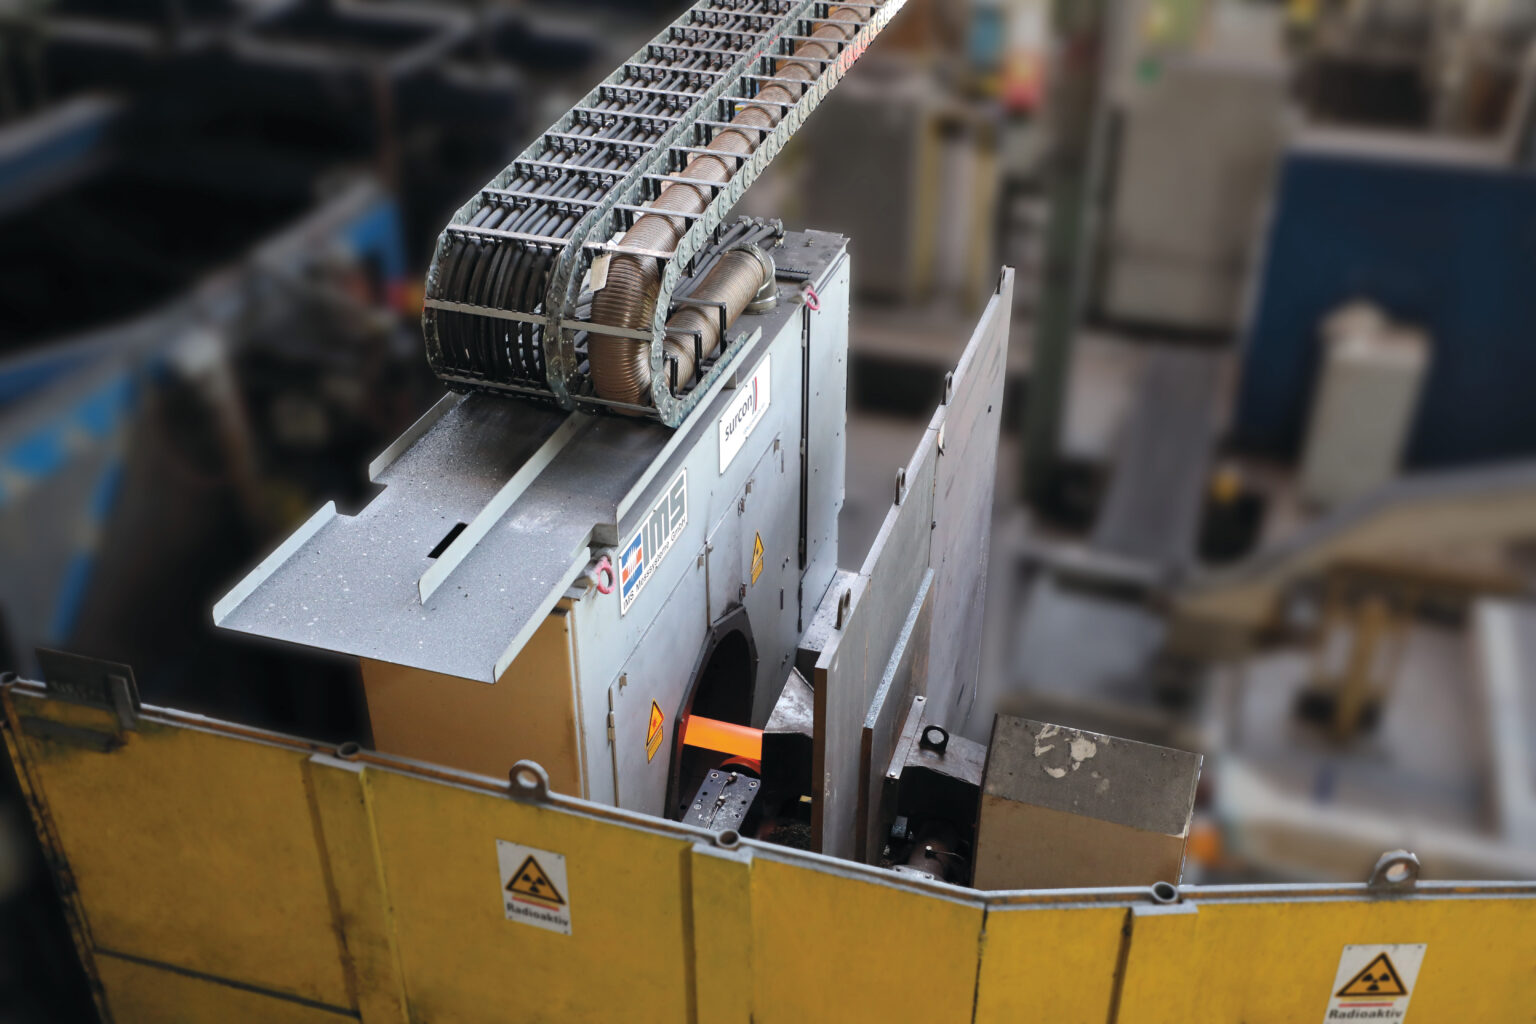
The IMS finished tube gauge already installed behind the stretch reducing mill (SRM) in the seamless tube mill of voestalpine Tubulars will be equipped with the IMS 3D tube surface inspection system “surcon 3D Tube”. In this way, surface inspection of the hot-rolled finished tubes is moving a further step closer to the manufacturing process: in the future, possible surface defects will be detected immediately after the SRM – the last of the three forming stages – and this at tube rolling speeds of more than 10 m/s!
This extension of the existing system will enable voestalpine Tubulars to detect even the smallest defects on the surface of the tubes even earlier and to initiate corrective measures regarding the process and tools correspondingly quickly.
In detail, the project comprises integration of the IMS 3D tube surface inspection system into the existing IMS 4-channel tube gauge. The main advantages of this implementation variant compared to an additional, stand-alone gauge are:
- All measurement data such as wall thickness, diameter and profile, temperature and surface defects are determined simultaneously at the same measuring point and have the same tube length reference.
- The existing IMS gauge can continue to be used as before.
- There is no need to create additional installation space for another gauge.


